Pages

Friday 3 January 2014

New year...new look...new blog!

Hello and Happy New Year! 

The new year is a great time for a fresh start and with this in mind I am delighted to announce that KraftyKat is moving. 

http://www.akraftykat.co.uk/


I've been thinking about making the jump to wordpress for some time now and over Christmas I got chatting to my boyfriend about my blog. He happens to be a bioinformatician and does clever things like build websites on a daily basis - yet for some reason it had never before occured to me to ask him for help with my blog. Why I do not know. So we had a play around and now not only have I changed to wordpress but I am a .co.uk - new territory for me. It's been great fun starting from a blank(ish) canvas with the design elements and I am pleased to announce that www.akraftykat.co.uk is now open for business (metaphorically speaking!). A big thanks must go to my boyfriend for all his help - everything that looks good is down to him and him alone (despite his best efforts to teach me how to code. I learnt a little bit. Honest!). 

So pop on over to www.akraftykat.co.uk and take a look around! I hope you like what you see. Although all the bits and bobs are in place now there are still likely to be a few changes while I settle in to my new home and I would welcome your comments and constructive criticism :) 

If you follow me on BlogLovin' I am working on getting my followers transferred to my new blog so there will hopefully be no need for you to change anything - I'll keep you posted! Eventually there will also be an automatic redirect set up from this site to the new one. 

I'll be back soon (hopefully) with a new make to share with you - yep I've been sewing too! 

Kat x

Sunday 29 December 2013

A spot of Christmas crafting

Hello everyone, I hope you all had a wonderful Christmas. I had a lovely time catching up with friends and family and eating far too much scrumptious food. As always it went by too fast! The preperations up to the days itself were fairly hectic, but I did manage to fit in a spot of Christmas crafting which I am now able to share with you. I'll let the (sadly poor quality iPhone) pictures do most of the talking...


Knitted angel made from a kit free with Let's Knit magazine, which is now sitting proudly
atop our tree


Homemade gift tags


Honey cowl

Applique cushion inspired by a design from Cath Kidston

A couple of pairs of PJ shorts for the boy (how AWESOME is the dinosour fabric!! Sadly all used up now
but I am aiming to find more so I can have a piar for myself)
That's all my Christmas crafting this year. A lot of my gifts were food-based - for example, for both our sets of parents the boy and I made up hampers full of a mixture of homemade and bought foody goodies. I am pleased to say these went down really well so i'm sure they will be repeated in years to come. Who doesn't like food, after all!

I can also now reveal what I received from my Sewist's Secret Santa...


Beautiful merino wool, funky lace and owl buttons (of course!)

Thank you Santa! Did you take part in the Sewists Secret Santa? Feel free to share the link below once you have blogged about your gifts and if I get enough I'll do a round up post. Thanks to everyone who took part, I look forward to seeing everyone's goodies!

Did you take part in any Christmas crafting this year?

K xx
Follow my blog with Bloglovin 

Tuesday 10 December 2013

Easy reusable sandwich wraps

Hello all, and happy December. Hope it's going well for you so far. I must admit that I am not yet feeling very Christmassy, although I am increasingly feeling the pressure to get going properly on my Christmas shopping - eek! We are hopefully going to buy out Christmas tree this weekend - I really want a real one for the first time this year - so i'm sure that will help matters.

Today I have a very quick and easy project to share with you. I am not quite sure how to describe these if I'm honest...lunch wraps? Sandwich wraps? The word "wrap" always makes me think of a tortilla. Whatever you decide to call it (answers on a postcard please) this is a nifty little creation that can be used to wrap up your sandwiches/bagel/crumpets/biscuits/cake and keep them nice and safe during transort, avoid crumbs, are reuable and look so much prettier that a plastic bag. The little plastic bags you get to pack sandwiches etc in are a bug bear of mine - I find them so wasteful - and I am very pleased to have found a reusable alternative.


Guess which one I made for myself and which is for the boy... 


I used a tutorial which can be found here. The outside is cotton and the wraps are lined with PUL, or polyester/polyurethane laminate, a washable, waterproof and food-safe fabric. I bought mine from Fabritastic but there are many other suppliers. This is a great project for using up scraps of pretty fabric.


These wraps were made from a 13 inch square and I can just about fit a bagel or a slice of bread in. I think that the next time I make these (and I predict there will be many more to come) I would increase the size to 15 inch square. Also, I would add a fabric tab over the velcro strap just to make it look a bit neater. Otherwise nothing to add - these are a quick, easy and useful make which have been much-admired in the tea room at work! I am planning to make some for Christmas presents.

In other news, I have joined forces with Samantha Schofield to organise a creative and crafty blogger meet-up on 11th January in Nottingham. This will be a chance for creative & crafty bloggers to meet up and we will be having a craft swap, goodie bags and discussions all in a new cafe based in the city centre. If you would like to come along please get in touch!

K xx


Monday 11 November 2013

Charlotte Kelly Skirt

Hello Everyone! I hope you all had a fabulous weekend. Last weekend I set up my sewing room and I am pleased to report that I am now back in the (sewing) game. I am also equally pleased that I am finally able to share with you my latest make - the Kelly Skirt by Megan Nielsen.
 
 
I've called this my Charlotte Kelly skirt because it is pretty much an exact copy of inspired by a skirt made by Charlotte from Charlie Says So. Charlie's wore her skirt to the Birmingham meet-up earlier in the year and I loved the black and red combination so much that I set about purchasing the materials required to make my own, right there and then. The main fabric is a cotton linen blend from Barry's Fabric Superstore in Birmingham. This was my first time working with a linen and I must say, it was a delight to work with.

This skirt has been a work in progress for a very long time. It came together pretty quickly and I actually wore it to the London meet-up on 3rd August...seen here with Paddington (proof it was summer - look at those bare legs. I feel chilly just looking at this picture now)


However, I had a serious problems with the fit of this skirt and I realised just how bad it was after I spent the whole day of the meet-up tugging my skirt down! Basically, what happened was I tried to be a little bit clever. I struggle with skirts that are fitted at the waist and prefer to wear them on my hips. So although I loved the Kelly skirt pattern, I was unsure if the style would suit me. To overcome the waist issue, I planned to extend the waistband so that it would fall to my hips instead. Turns out this was an error. You can see from the picture below that the result was a massively gaping waistband (excuse the flesh on show!!)


I have since learnt that there are differences in waistbands for skirts that sit on the waist and those that sit on the hips. Waist-waistbands are straight, whereas those that sit on the hips are curved. Makes sense, right? This was a revelation to me when Rachel explained this to me - thanks Rachel :)
 
After the meet-up this skirt was put to one side for several months until last weekend, when I picked it up again. I pinched in the waistband at each side and lined up the resulting fold with the side seam so that it looked like part of the pattern. I pinned both sides to check the fit then pressed and hand sewed the fold in place. I generally avoid hand sewing wherever possible, mostly because I'm lazy, but I was glad i did it on this occasion because the end result was pretty neat and it really didn't take that long. I just can't believe it took me so many months to apply this really simple fix!


A few close-ups of the details, firstly these beautiful buttons which came from Birmingham Rag Market. I was a bit scared about the seven button holes required for this skirt, but once I had done a few practise goes it really wasn't that bad. Honest. I think that if I make this skirt again, which I quite possibly will, I would interface the button planket as well as the waistband, just to strengthen it.


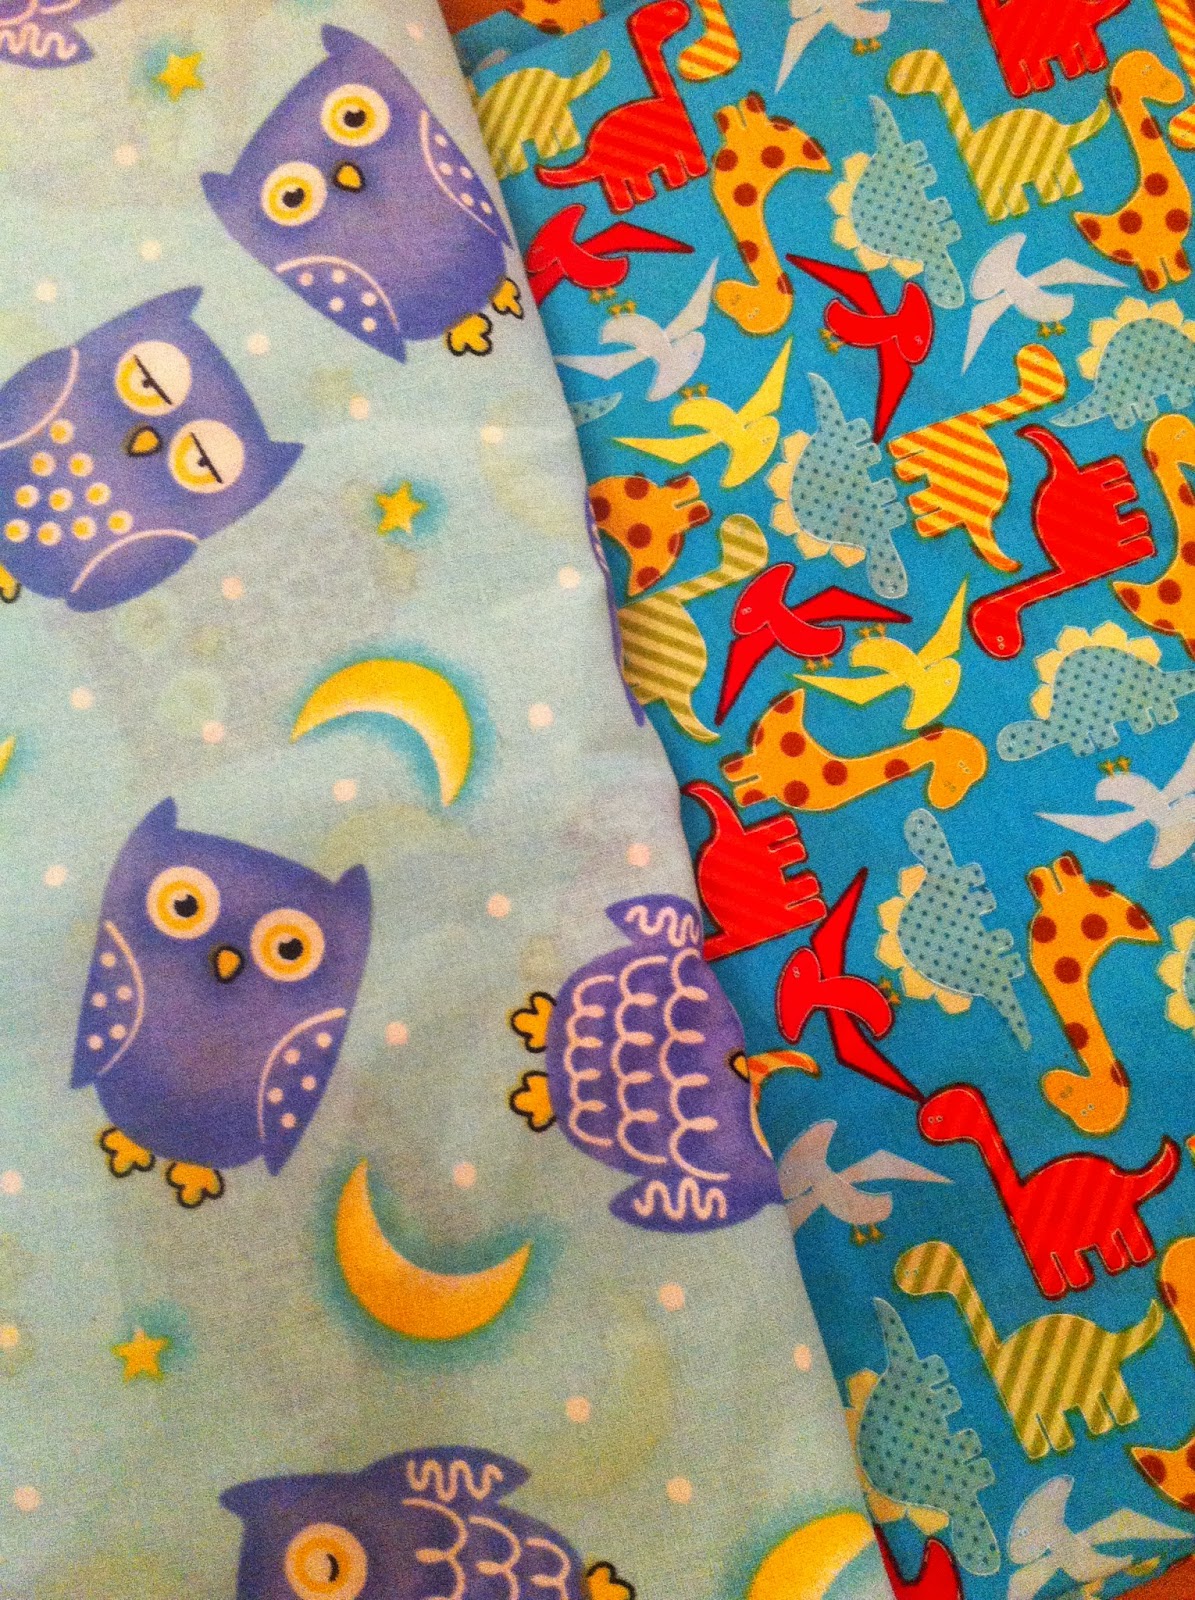
Also my favourite feature...there are owls in the pockets! OWLS!! Yes I copied this from Charlie too, but come on, owls are my thing, it had to be done. And I'm sure I would have come up with this idea anyway left to my own devices. Maybe.


So there we have it, a very red Kelly skirt, finally completed. I'm a bit sad I left it so long and it is now autumn, because this was lovely to wear in the summer as it is so light and comfy. Oh well, next year! Now is the time to wrap up warm in tights and scarfs, and it works just fine with tights too. 
 
On the topic of winter, or more precisely Christmas (apologies for the C word...!), if you fancy taking part in this year's Sewist's Secret Santa you have until Sunday 17th November to sign up, so pop over to the link and find out what the fun is all about (and there are some handy dates there too so you ca plan your shopping!).
 
K xx
 

Tuesday 5 November 2013

Sewist's Secret Santa - 2013 edition


Hello Everyone!

Thank you very much for all your lovely comments and messages in response to my last post. We have been in our new house for just over four weeks now and we are definitely getting there. It is feeling much more like home now and I even unpacked my sewing machine in my brand new sewing room at the weekend - photos coming soon!

For now though, I am pleased to announce the return of the Sewist's Secret Santa! I know it's only just November and you probably haven't even started thinking about Christmas or Christmas presents yet, but following the success of last year I have decided to organise it again - with a bit more advance planning this time. Here is how it will work and how you can sign up:

1) Send me an email to kraftykatblog(at)gmail(dot)com by Sunday 17th November with the following information - your name, a link to your blog (if you have one), your postal address and also whether you are happy to post internationally. Also, if you would like to provide a short snippet of information for me to send on to your Santa please do - for example, "I'm a sewist and a knitter, I love spots and lace and big prints".

2) I will play Santa and pick everyone's Secret Santa out of a (probably metaphorical) hat. I will split between people happy to post internationally and those who would prefer not to. This will not be a straightforward pairwise swap, otherwise everyone will know who their Santa is, and that just defeats the object!

3) I will send everyone an email telling them who they will be buying for, along with their address/blog link/information by Sunday 24th November.
4) Present buying! This bit is completely up to you, however please try and keep within the limit which is £5 (or equivalent internationally). You can make/buy/thrift your presents or even shop your stash - it's completely up to you.

5) Pop your gift in the post. Don't forget this is supposed to be a Secret Santa, so it's most fun if you don't let on who the present is from. Please keep an eye on the last dates for posting before Christmas...check here for last Royal Mail posting dates. The earliest last posting date is 4th December for anyone posting to New Zealand. Please try to post your parcel by Monday 16th December to make sure it arrives in time for Christmas.

6) Receive your present and pop it under the tree, or open immediately if you must, however please wait until after Christmas to share on your blog. And feel free to speculate about who your Santa might be....!!

I had so much fun shopping for my secret santa last year and am looking forward to doing it all again. If you have any questions please feel free to drop me an email or write a comment below and I'll get back to you as soon as I can.

Ho ho ho...

K xx

Saturday 12 October 2013

Normal service will resume shortly...


We moved into our new house last week (just one day before Marie moved into her's - there is not really a mass Leicester exodus going on, to my knowledge at least) and the last few days have been a blur of boxes and small victories - it's amazing how exciting it can be to unpack something as insignificant as a good chopping board that has been hidden for days! I was sad to leave Leicester after over 7 years there but I am excited to move out of the city and start a new adventure.

While we are making progress with getting the house in order, I'm not sure there is going to be much sewing going on in these parts just yet. I'm lucky enough to have my own sewing room (a.k.a the spare room) in the new place, but it is currently looking a bit like this...


...a bit of work to do here I think you'll agree! If it was up to me the sewing room would be the first to be sorted out, but unfortunately the boy doesn't agree...

At least someone is making herself at home...


As long as Sally has a sofa and her biscuits she's happy!

I am excited to make the new house a home and furnish it with handmade goodness. We left all our curtains at the old house and although we have managed to snag a few freebies to keep us going in the meantime, I really want to try making my own curtains. This will be a first for me though and I'm frankly a bit clueless...if anyone out there has dabbled in curtain-making I would be most grateful for any hints, tips or handy links you can offer. Right...boxes are calling...or maybe a bit of X Factor...hmmmm...

P.S - apologies for poor quality iPhone pics...if anyone has any idea where I might have hidden my camera (in a box is not a valid answer) please let me know!

K xx

Saturday 21 September 2013

Sewing with oilcloth

When my mum first asked me if I would make her a bag from oilcloth, I was a little bit dubious. Having never sewn anything with oilcloth before, I wasn't sure how to go about it. I had read that I might need a special foot, tissue paper, and all sorts of other complicated bits and bobs. However, in the end it turns out oilcloth is not really that scary. Fiddly yes, but scary no. 

A bit of research lead me to Norfolk Textiles, who have a huge range of oilcloth in many many different patterns. I wasn't sure what to expect but I took advantage of the free swatches they offer to order some samples and let my mum pick her favourite. She also chose a simple canvas tote bag pattern from Martha Stewart's Encyclopedia of Sewing and Fabric Crafts (it's the bag on the front of cover in fact) as a basis for the bag. I ended up making a few adjustments, including chopping about three inches off the top and attaching the straps to the inside of the bag rather than the outside.

Since this was my first time sewing oilcloth, I had a bit of a practice run on a small strip of oilcloth first until I was happy with how the material was moving through the machine.


So how was sewing oilcloth any different to sewing with other fabrics? Here are a few pointers:
 
  • I covered my standard sewing machine foot with masking tape to stop it sticking. I tried attaching masking tape to the feeder plate too but that really didn't work (note to self, if you cover up the teeth that feed the fabric through the machine, it won't move through properly. Duh)
  • I used a denim needle
  • I found it helpful to pull the cloth through the machine slightly to make sure it fed through smoothly
Other than that, it was pretty much business as usual.


To make the straps, I folded the oilcloth and sewed down the raw edge. The great thing about oilcloth is that it does not fray, which means there is no need to finish the seams. It is not advisable to use pins with oilcloth because they leave a mark, so instead I marked the position of the straps with a felt tip pen and placed the straps in position when I sewed the top of the bag down. I then sewed around the straps in a box shape to add a bit of strength.  


Sewing this bag was a bit of a learning curve but I'm pleased with how it turned out - and hopefully my mum will be too! The whole bag was made from half a metre of oilcloth, which makes it a pretty cheap make. I also bought another half metre in a different pattern for myself, so there may well be some more oilcloth sewing happening in the future. 


In other news, we signed the contracts for our new house yesterday and hope to move in during the second week of October. Not long to go! I'm very excited about the move but not so excited about the packing - eep! We really need to get cracking. However today I took a little break from packing to head to Birmingham for the day. I was on a very strict budget due to the house move (plus new purchases equals more to move!) and I think I was quite restrained. I limited myself to two lengths of fabric from the wonderful Barry's - predictably some owl fabric perfect for pyjamas, as well as some dinosaur fabric which is destined to be pyjamas for the boy, who has been requesting dinosaur pyjamas for quite some time. This fabric was perfect so I had to snap it up!


What's on your sewing table at the moment? Have you ever sewn with oilcloth and do you have any top tips?
 
 
K xx

LinkWithin

Related Posts Plugin for WordPress, Blogger...